Date
Add "Date"
Create a new Watchface(or edit an existing Watchface), select "Date - Date" in the component bar above, then select "Date" in the left action bar.
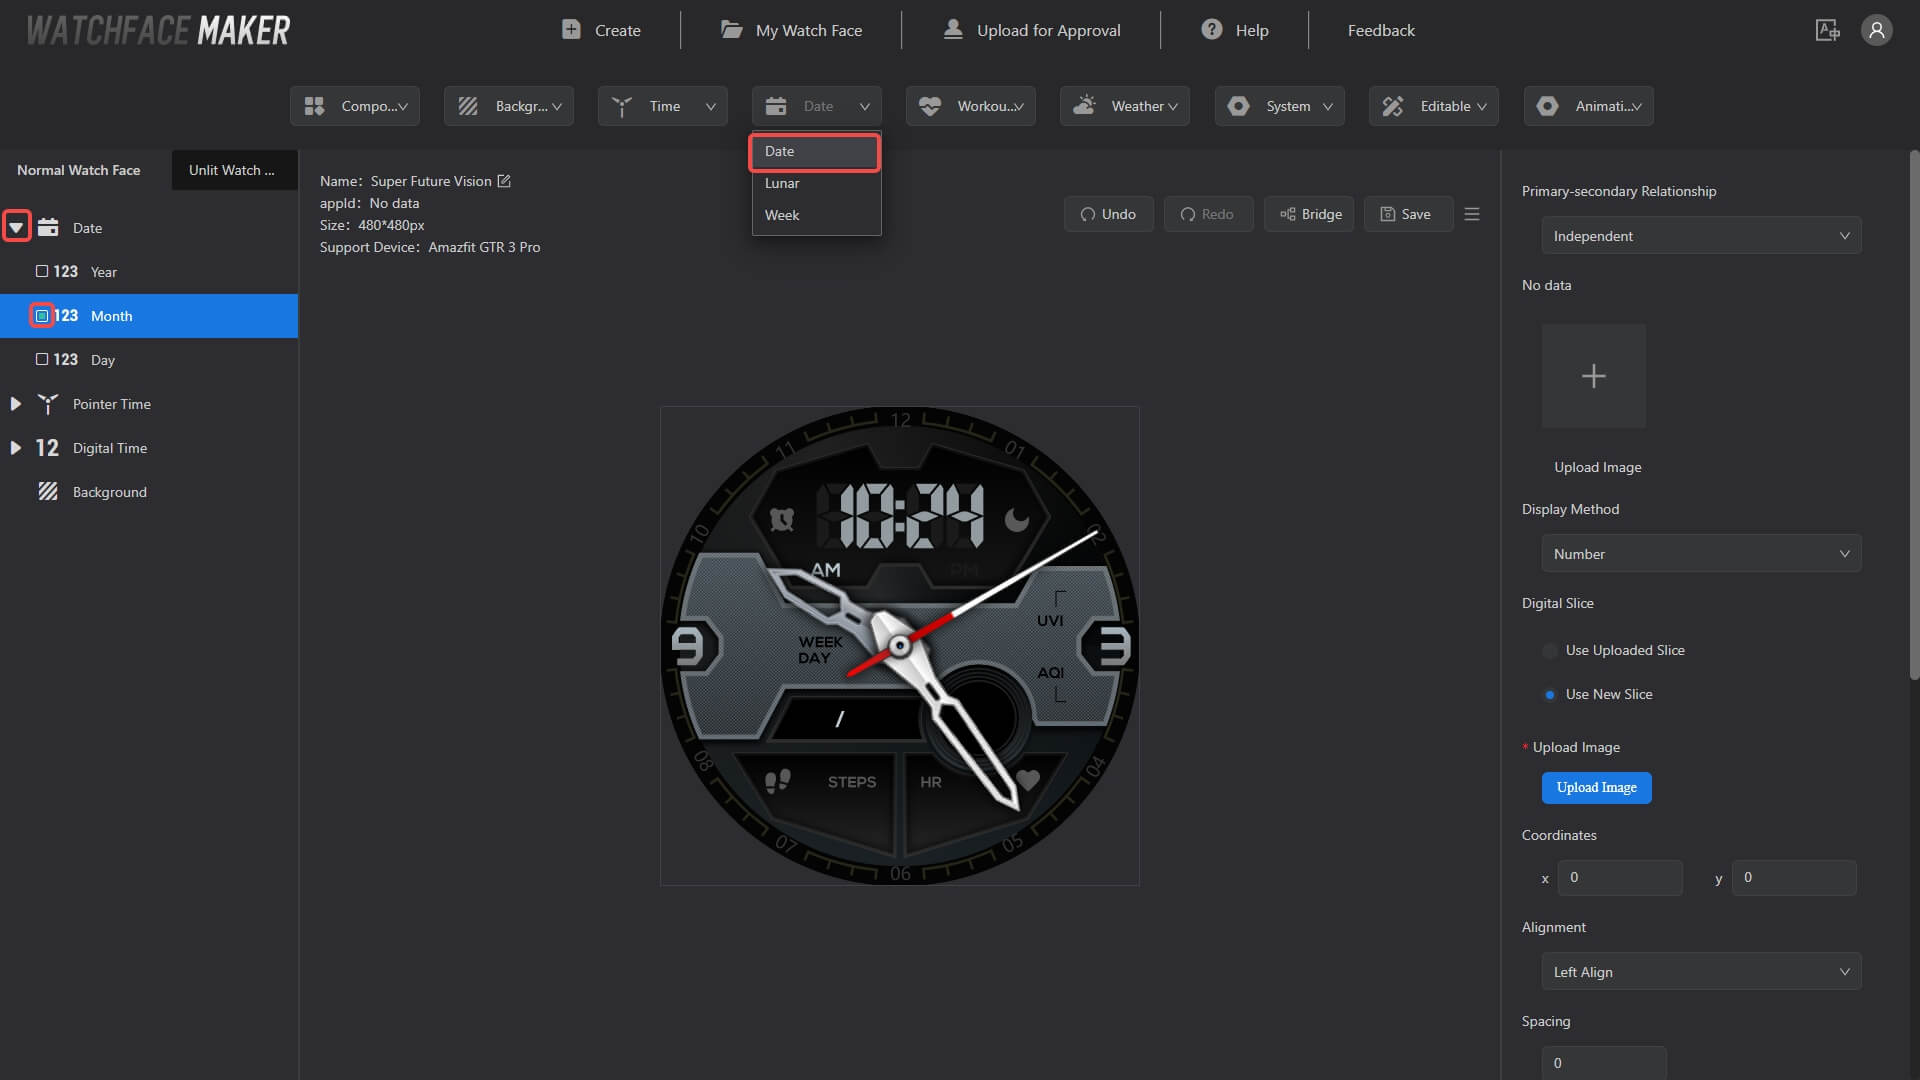
Add "Month"
- In the Action Panel located at your right-hand-side window, select "Independent" in the section titled "Primary-secondary Relationship".
- Upload the image to the section "No data".

- Select "Number" in the "Display Method" section.
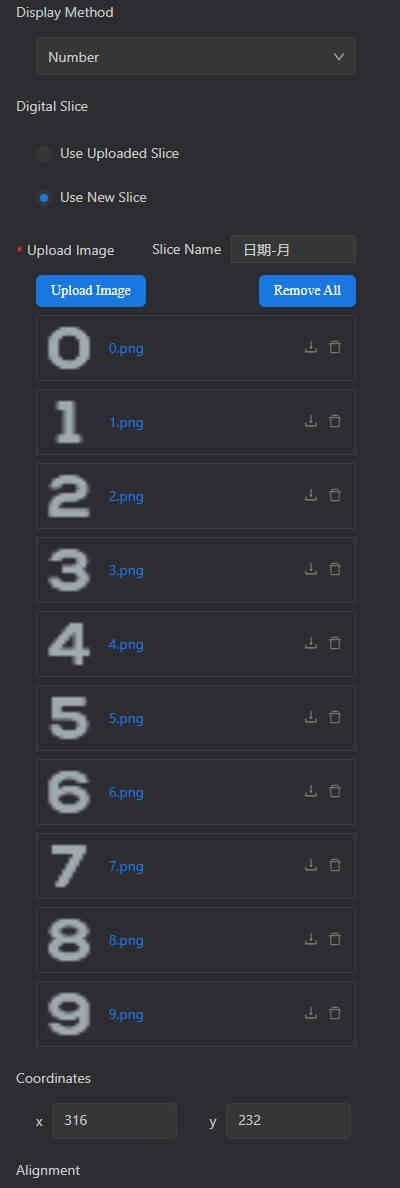
- In the "Digital Slice" section, select "Use New Slice".
- Upload the desired digital slice image, and then set the coordinates to (316, 232).
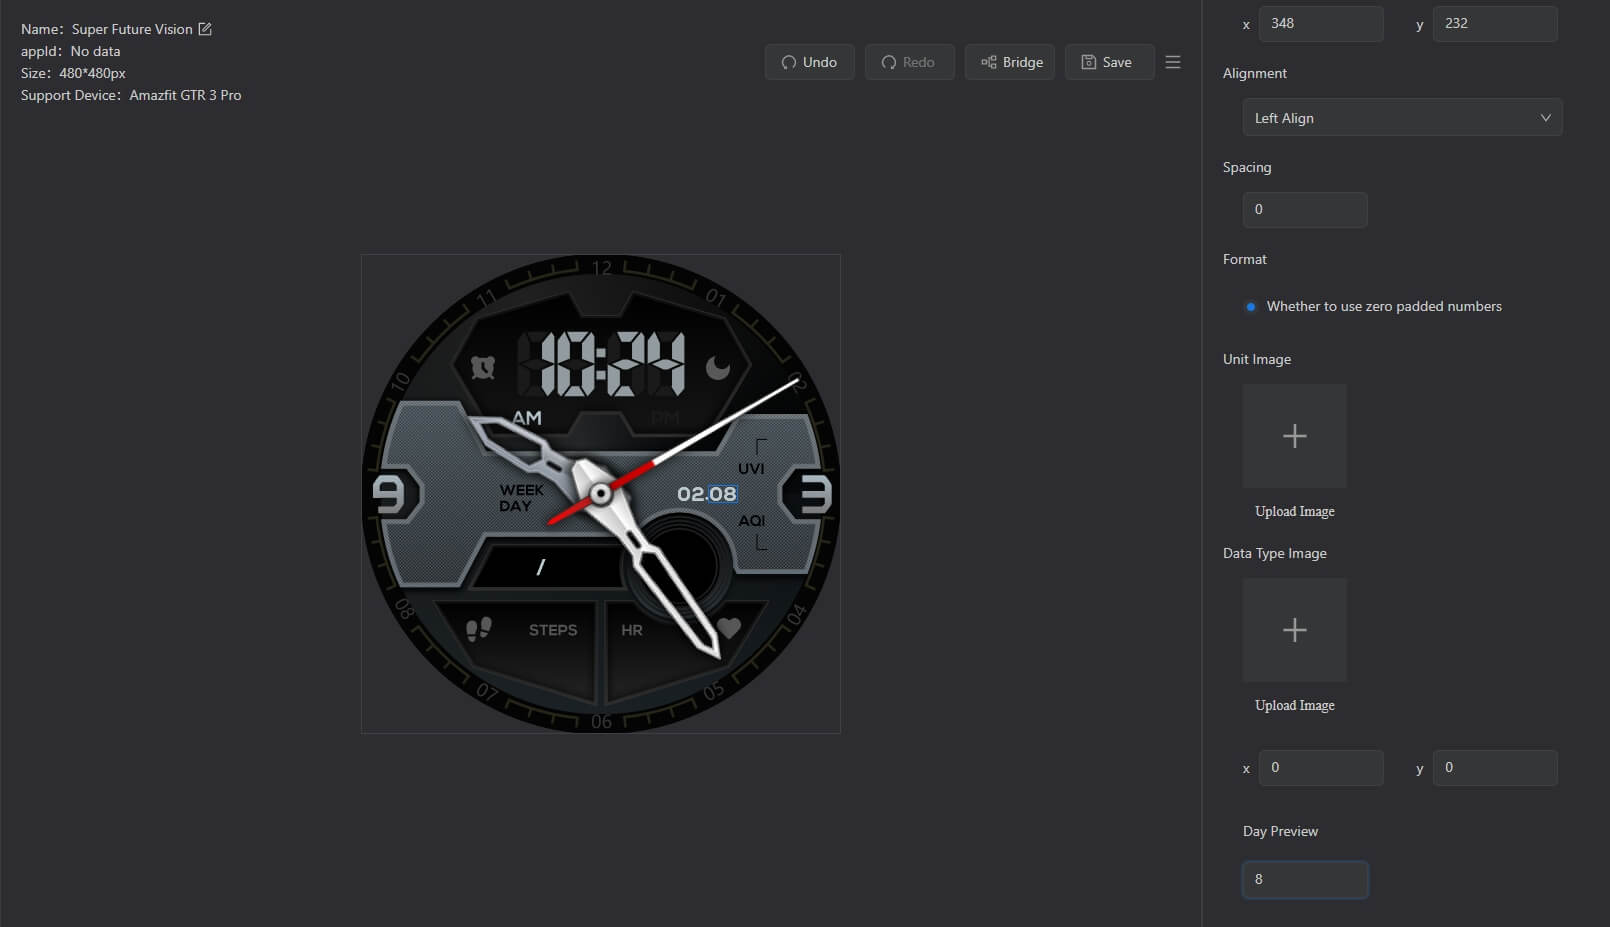
- Upload the data type image.
- Set the coordinates to (344, 232).
- After the operation, you should be able to preview the monthly data.

Add "Day"
Following the previous similar setup, let's also add the "Day" feature into the watchface.
- Upload the image to the "No data" section.
- In the "Digital Slice" section, select "Use Uploaded Slice."
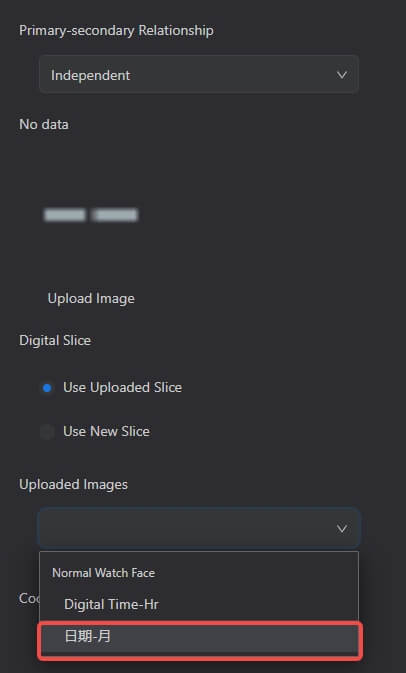
- Set the coordinates to (348, 232).
- Other parameters can default.
- This way, the "date" is made.
- "Year" setting is similar to "Day", which is not displayed here.
Other Settings
- Set "Alignment" to "Left Align"、 "Align Center" or "Right Align".
- Spacing (between number and number、number and unit), here is 0.
- Configure the "Format" (Whether to use zero padded numbers), here use zero padded numbers.
- Can add "Unit Image", here is empty.

- Can add "Follow", after following, "Digital Slice"、"Alignment"、"Spacing" cannot be edited and follow the previous component.

- Can change "Display Method" to "Image", except the following settings: "Alignment"、"Spacing"、"Format" can not be edit, other settings are similar to "Display Method" - "Number".

Add "Week"
let us set up the "Week".
- Select "Date - Week" in the component bar above.
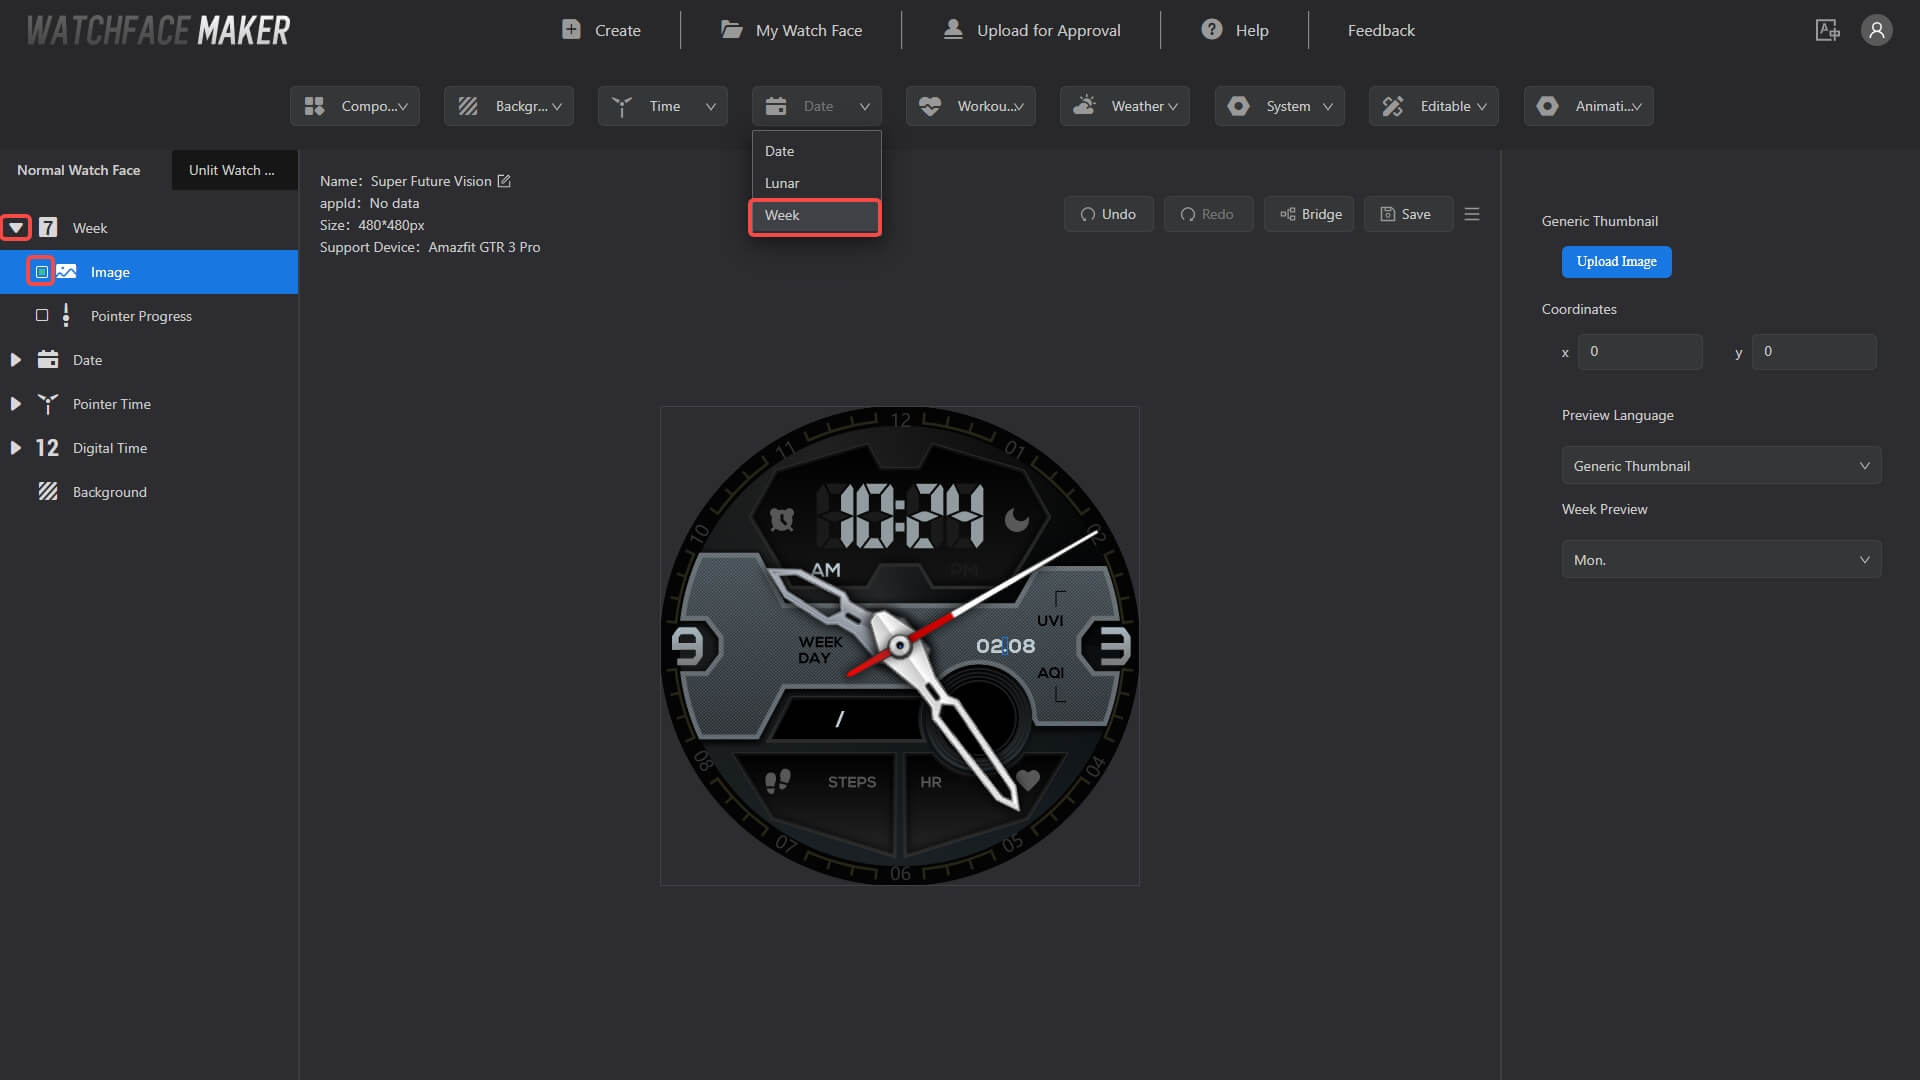
Add "Image"
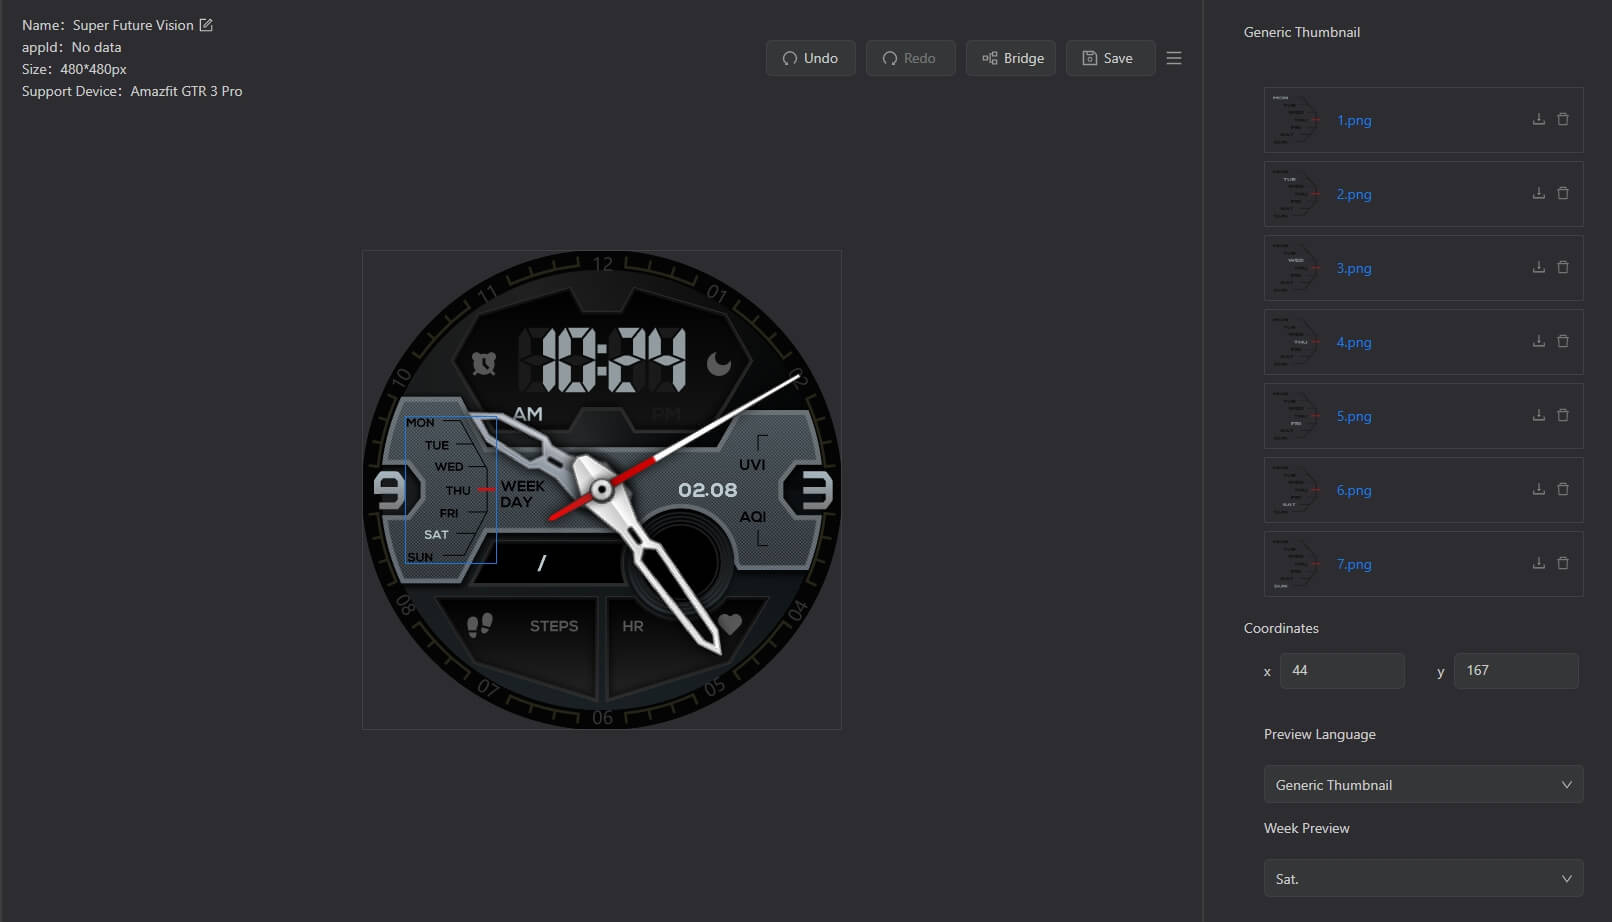
- Select "Image" in "Week" on the left.
- Upload seven days-per-week pictures from Monday to Sunday.
- Set the coordinates to (44, 167)
- You can switch to the "Week Preview" to see the effect.
Add "Pointer Progress"
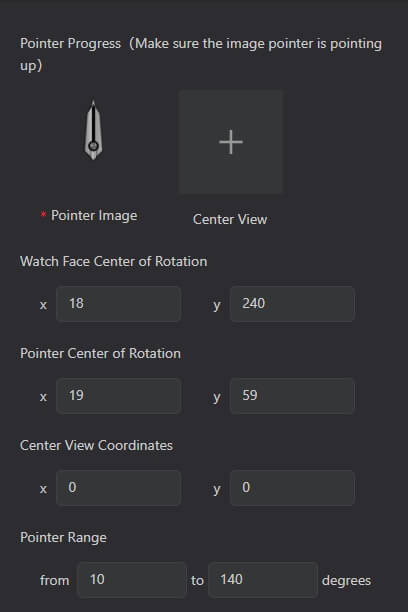
- Select "Pointer Progress" in "Week" on the left.
- Upload "Pointer Image"(Make sure the image pointer is pointing up).
- Set the "Watchface Center of Rotation" to (44, 167), the "Pointer Center of Rotation" to (19, 59), the "Pointer Range" from 10 to 140.
- You can switch to the "Pointer Progress Preview" to see the effect.
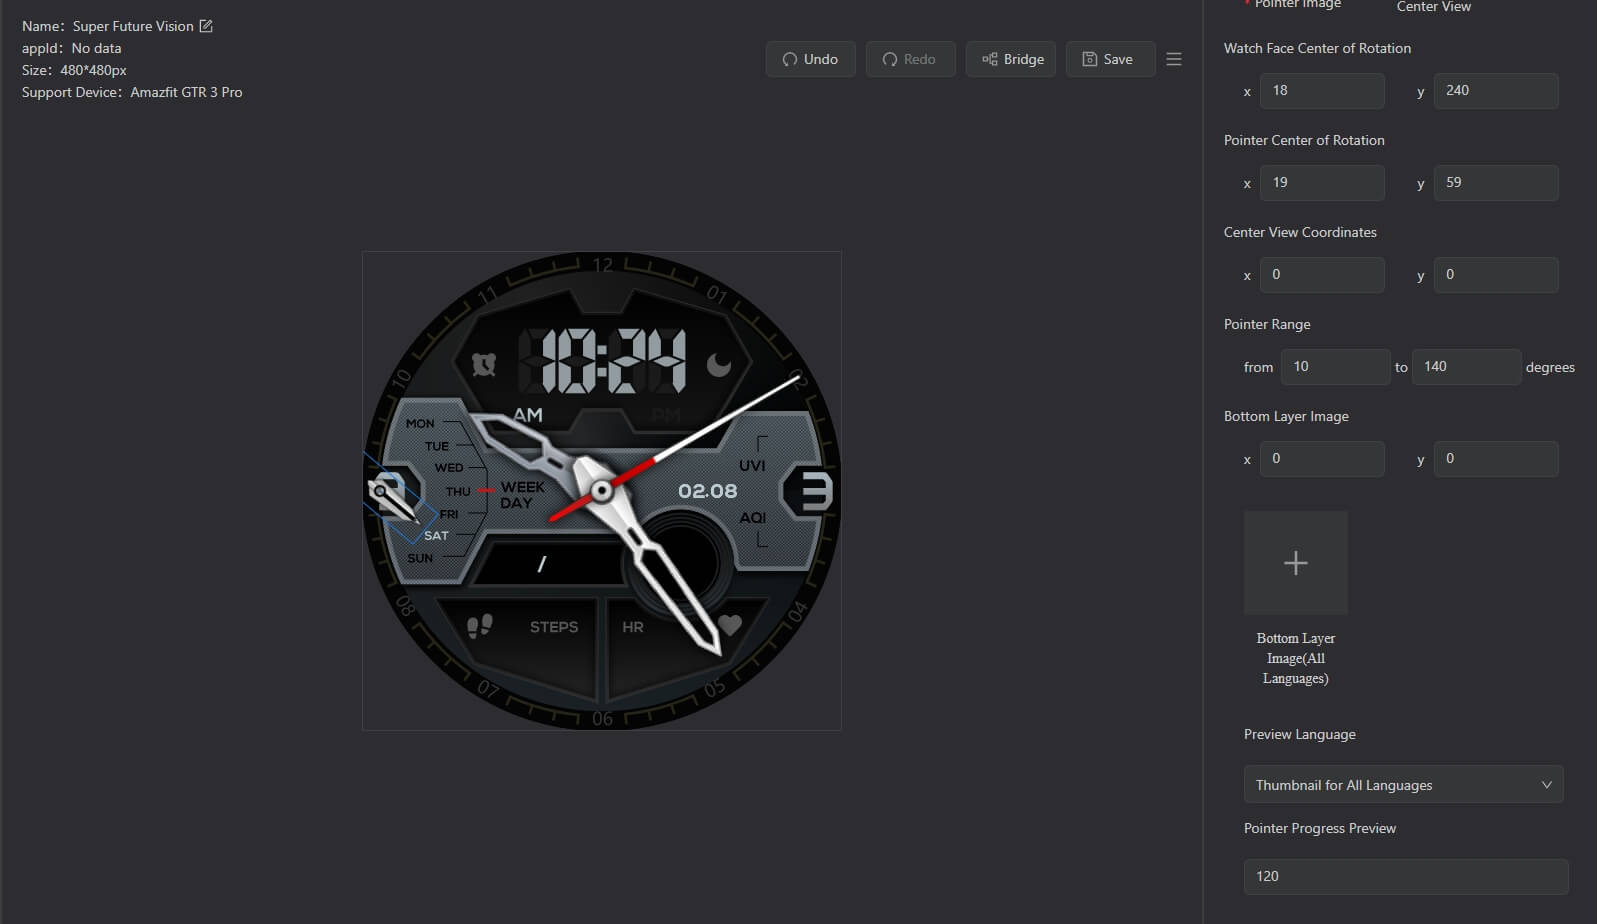
Other Settings
- Can upload "Bottom Layer Image" as background for "Pointer Image".
Note
None