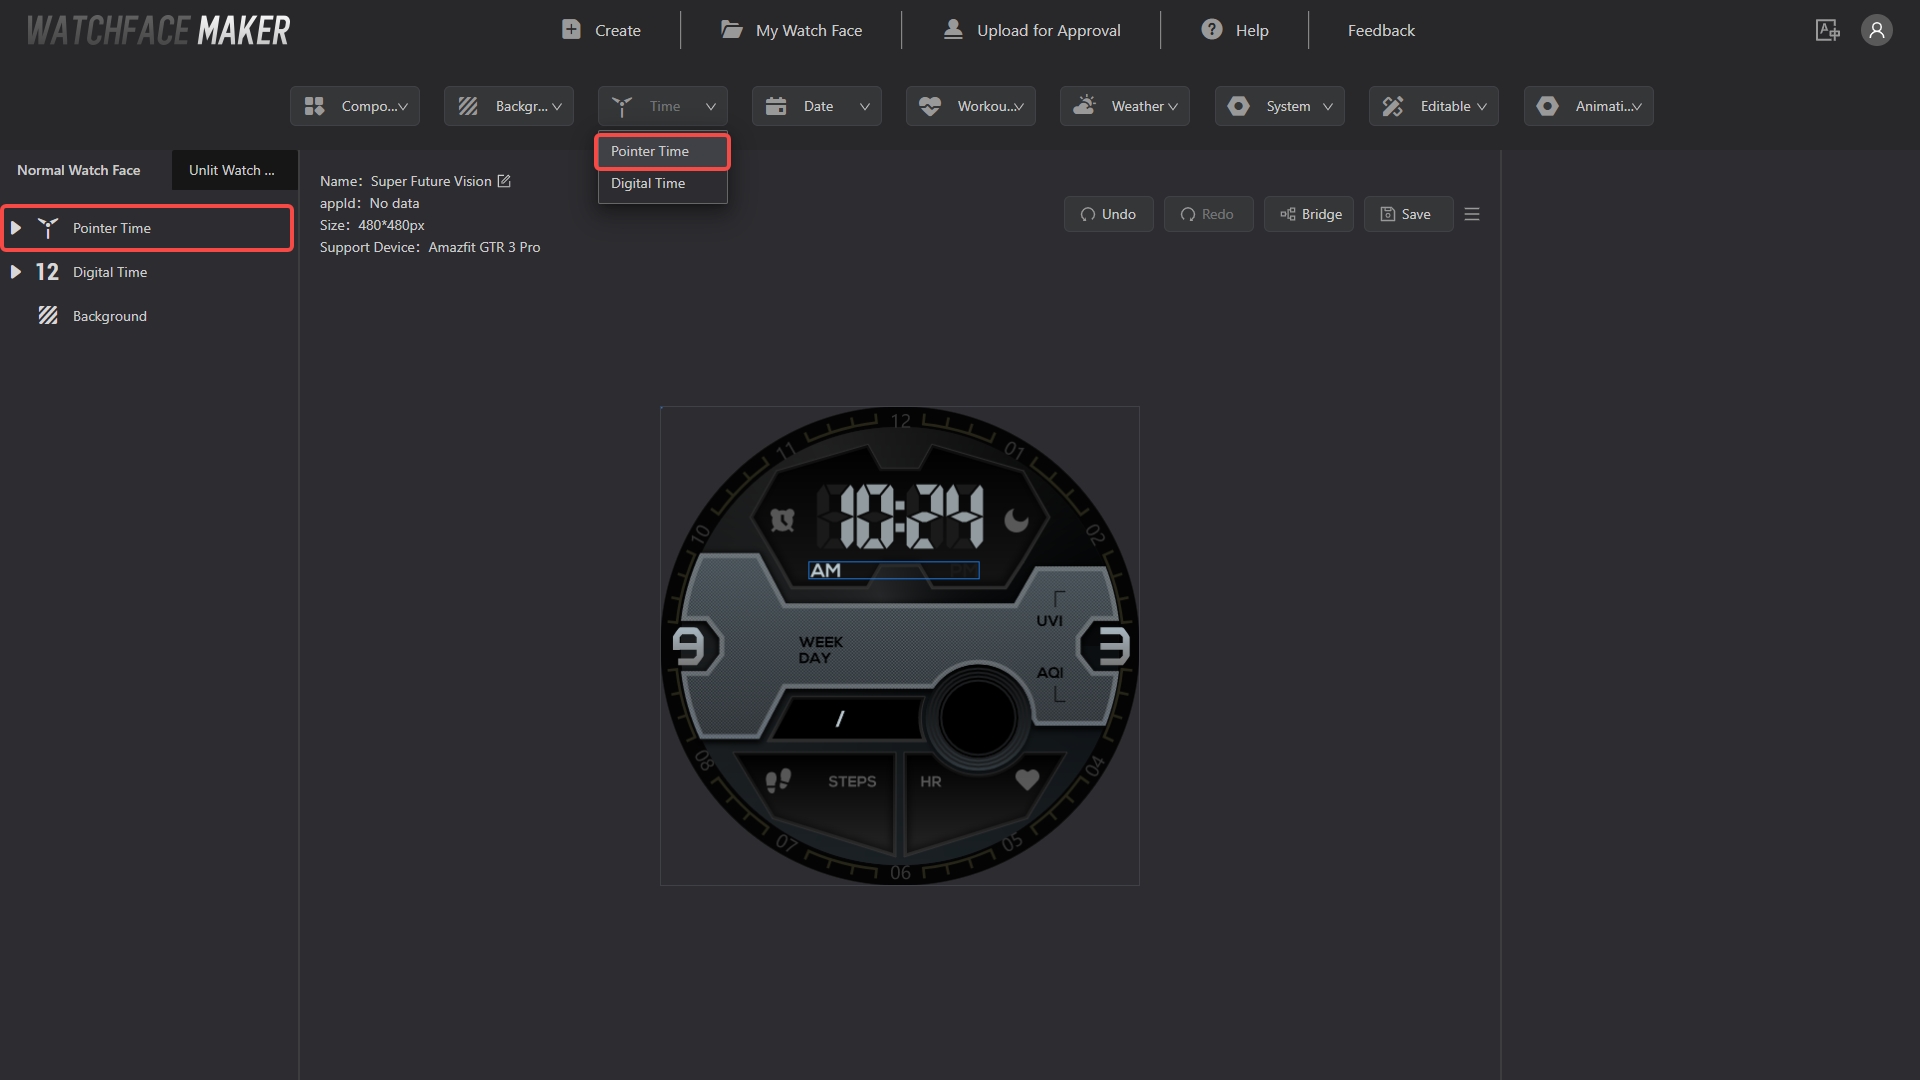
Time
Digital Time
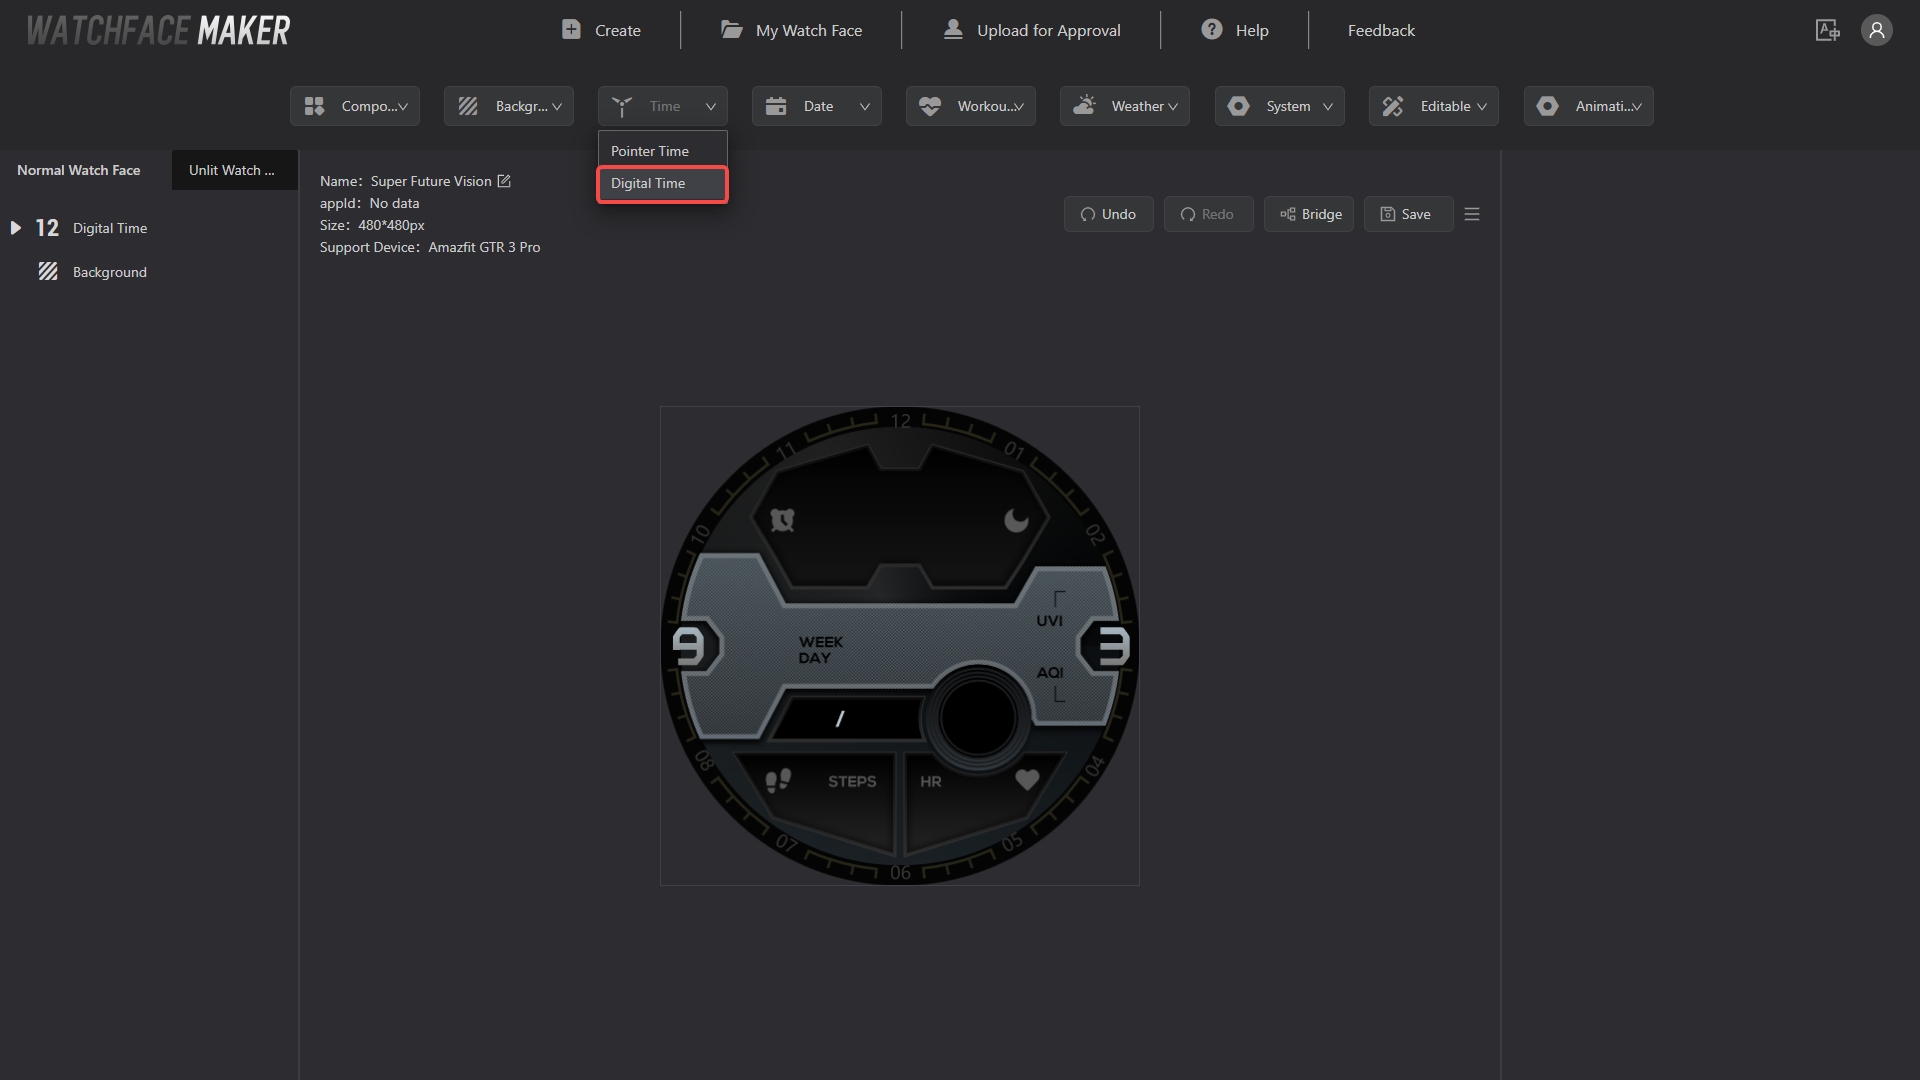
Create a new Watchface(or edit an existing Watchface), select "Time - Digital Time" in the component bar above, then select "Digital Time" in the left action bar
Add "Hr"
- Select "Hr", add the relevant assets in the right action bar
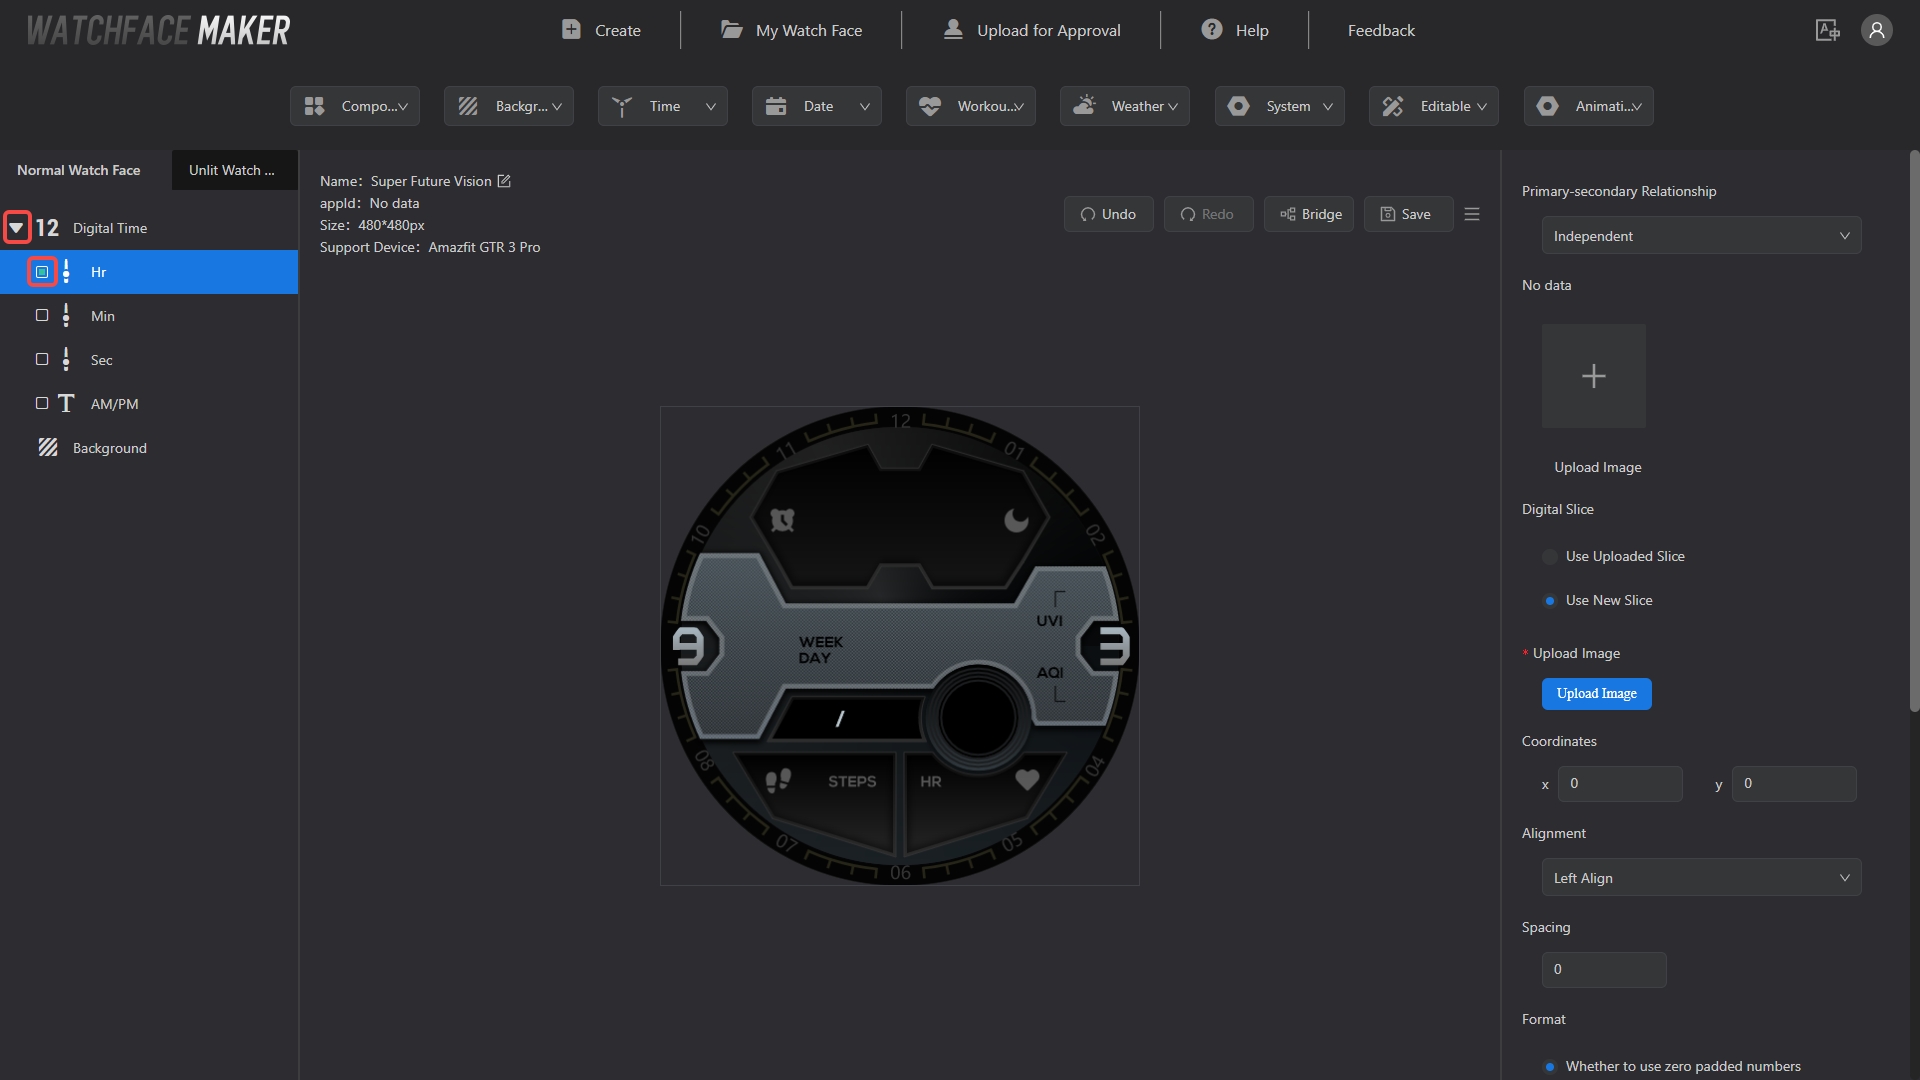
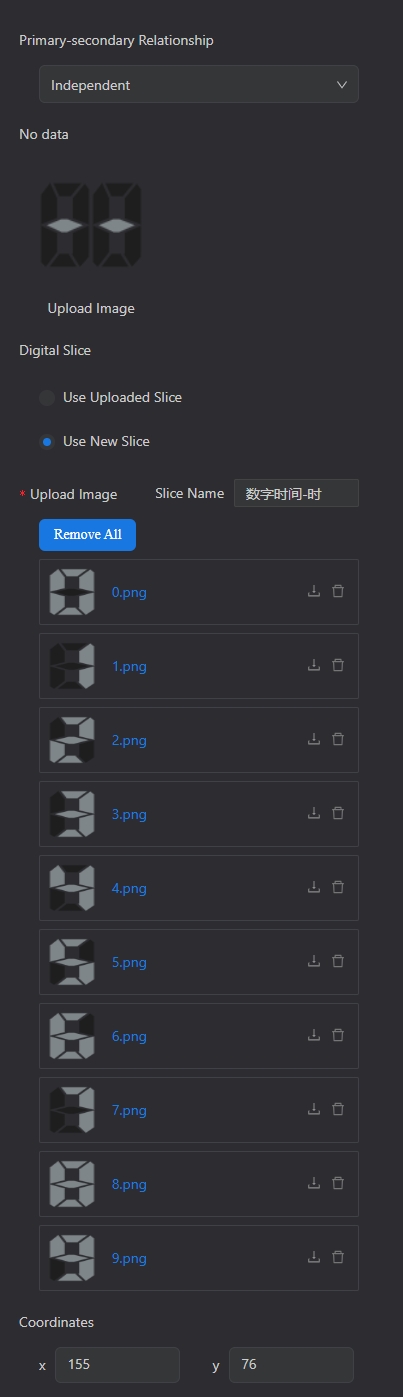
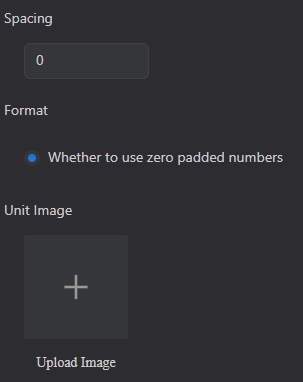
- Add an image by clicking the "+" above "upload image"
- After uploading images, they will appear below, numbered sequentially
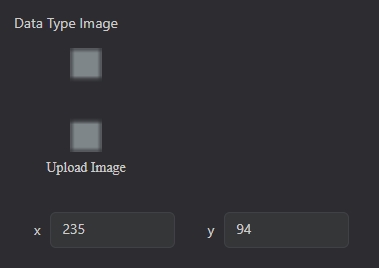
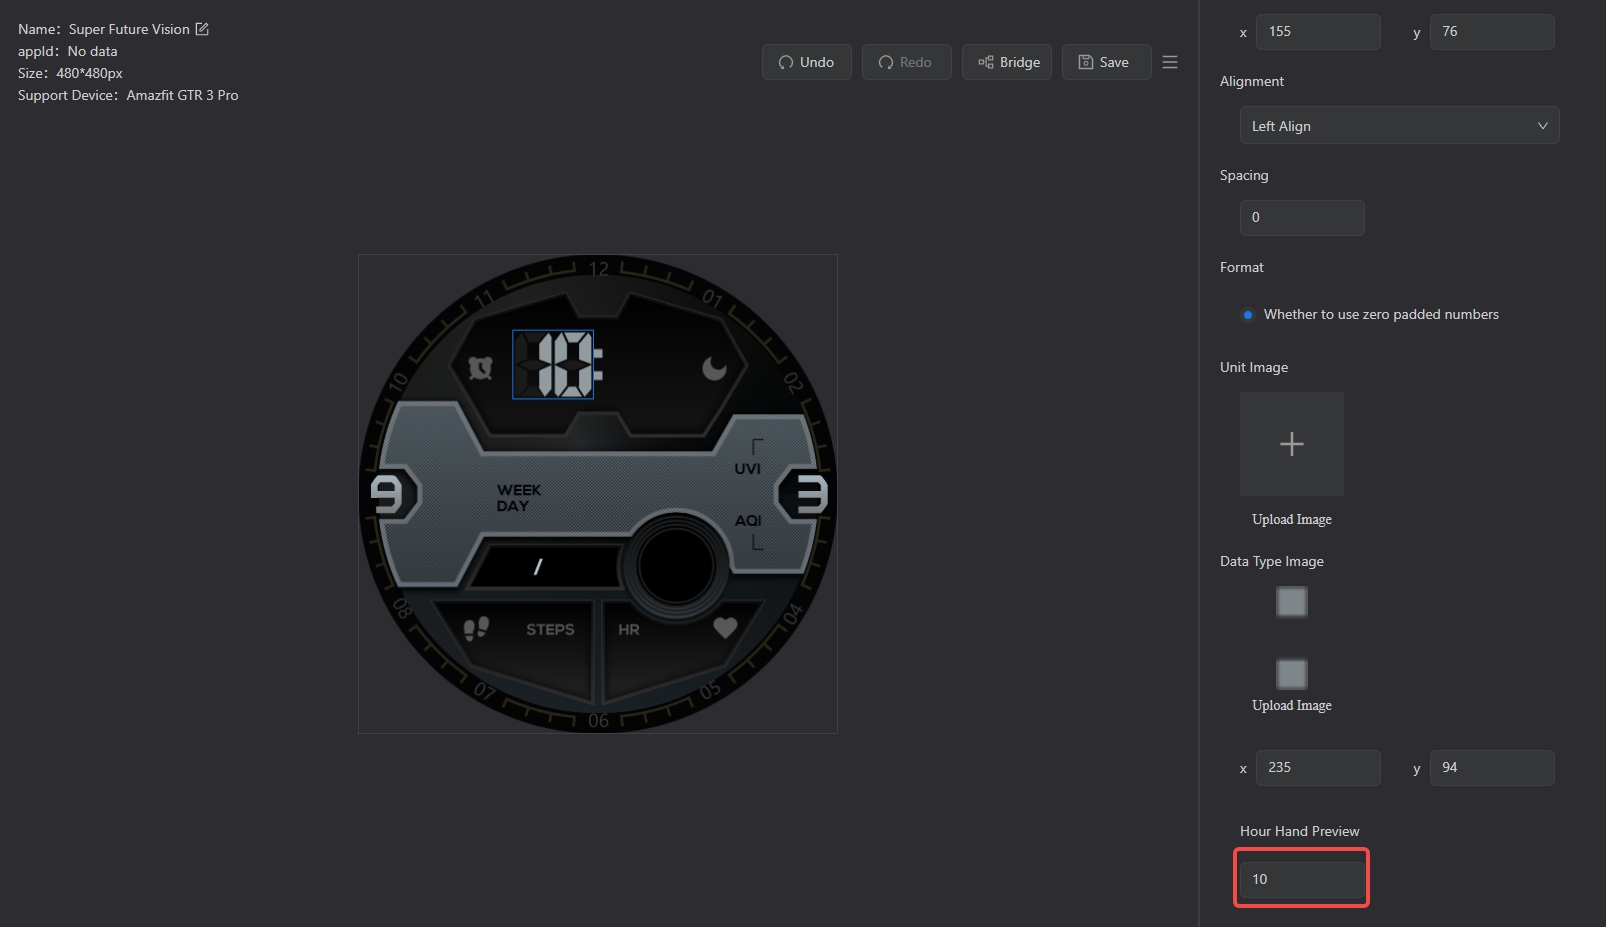
- Set the coordinates to (155, 76)
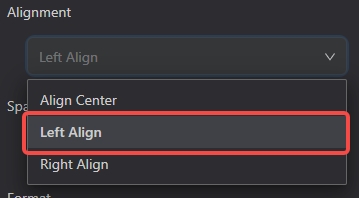
- Set "Alignment" to "Left Align"
- Spacing (between number and number、number and unit), set it to 0
- Configure the "format" (Whether to use zero padded numbers), use zero padded numbers now
- Can add "Unit Image", here is empty
- Add a "Data Type Image" and set the coordinates to (235, 94)
- Change the "Hour Hand Preview" value to see the effect in the workspace
Add "Min"、"Sec"
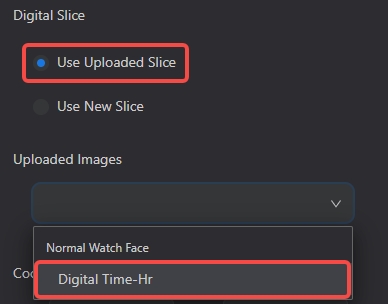
- Select "Min" in the left action bar and set it up similarly to "Hr"
- Note that for the images here, you can use ones that have already been uploaded
- Set the coordinates to (245,76), see the effect in the workspace

- "Sec" setting is similar to "Hr",which is not displayed here
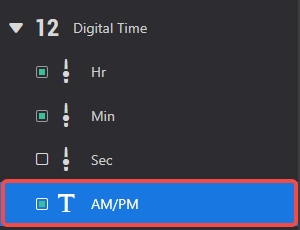
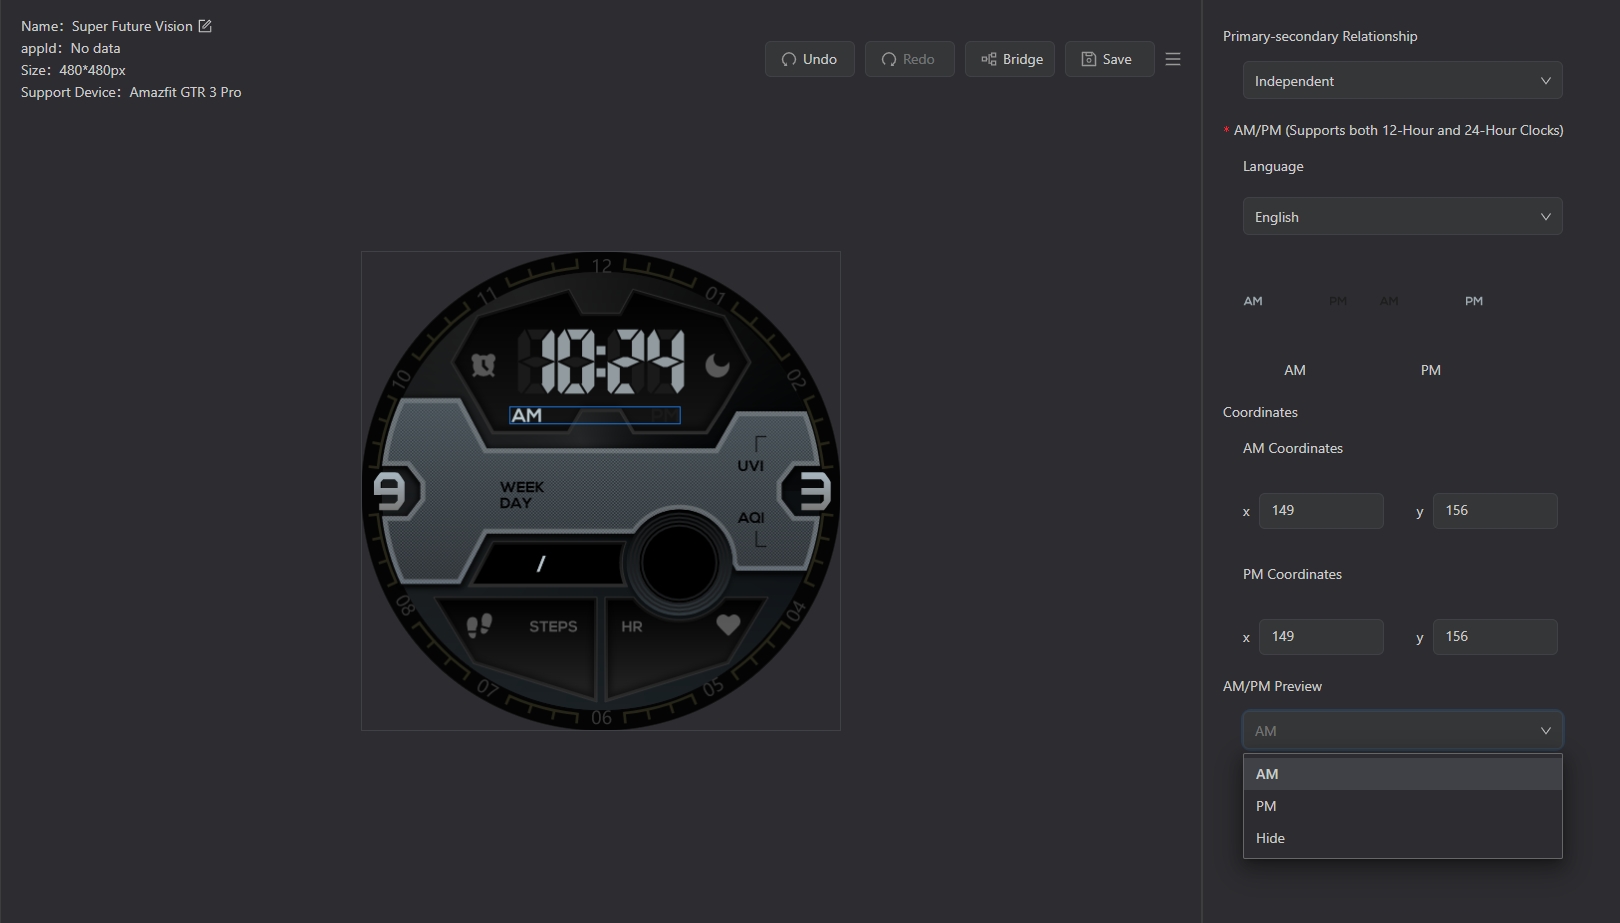
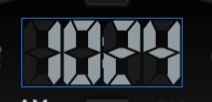
Add "AM/PM"
- Select "AM/PM" in the left action bar
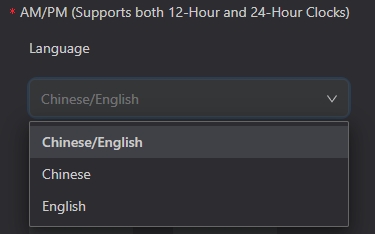
- For "Language", select "English"
- Upload the corresponding images and change both the AM and PM coordinates to (149,156), change the "AM/PM Preview" value to see the effect in the workspace
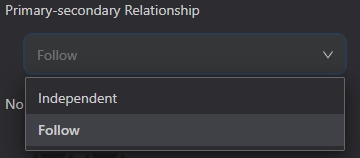
Add "Follow"
- "Hr"、"Min"、"Sec",the latter component can follow the previous component
- After following, the component of "Digital Slice"、"Alignment"、"Spacing" cannot be edited and follow the previous component
Pointer Time
Create a new Watchface(or edit an existing Watchface), select "Time - Pointer Time" in the component bar above, then select "Pointer Time" in the left action bar
Add "Hr"
First select "Hour Hand", add the relevant assets in the right action bar
- Upload a picture of the hour hand
- Set the "Watchface Center of Rotation" coordinates to (240,240)
- Set "Pointer Center of Rotation" to (33,164)
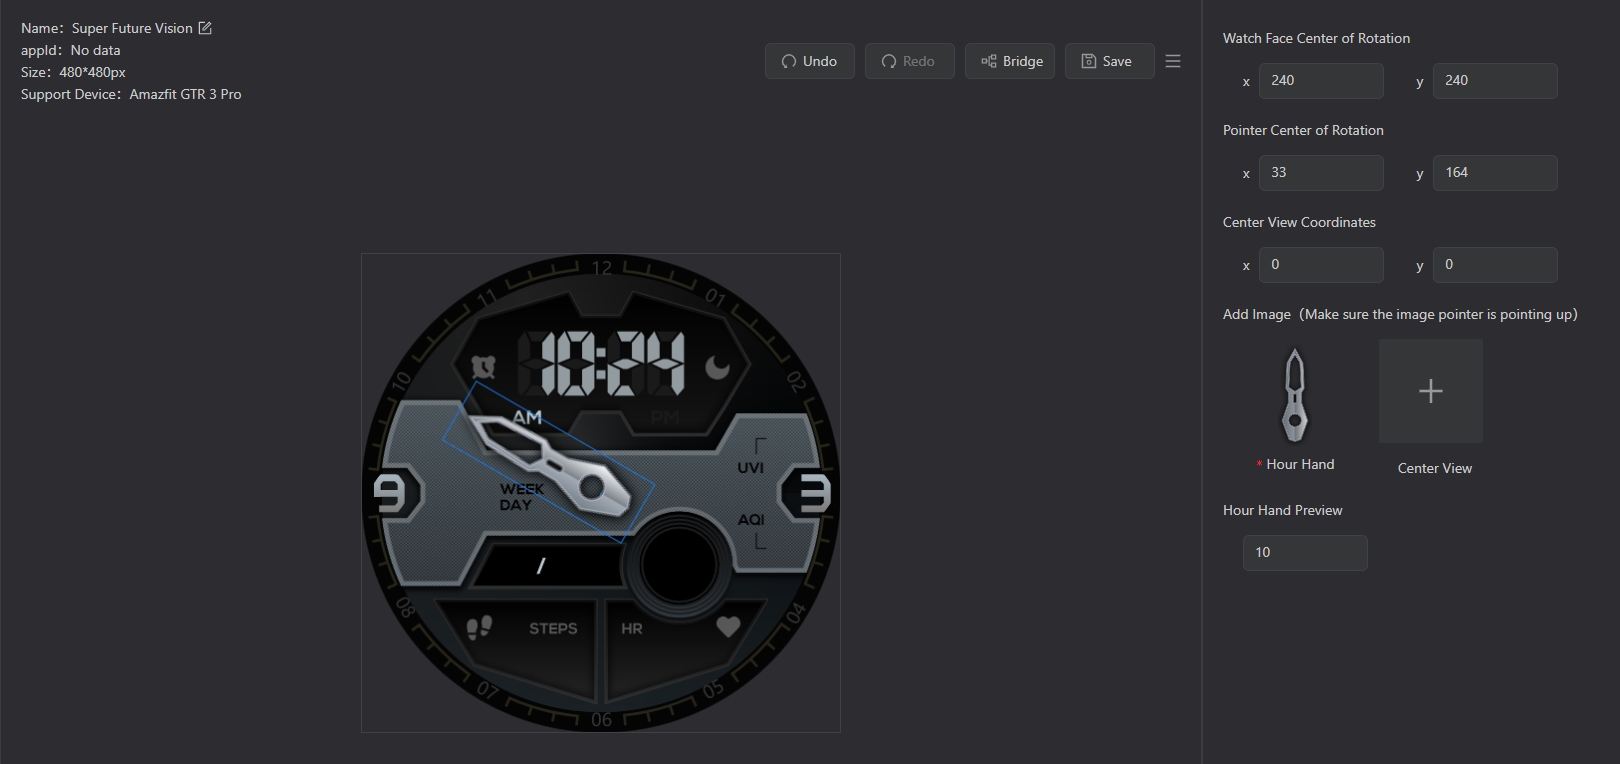
Center of Watchface rotation - The center point of the entire Watchface, example: the current Watchface resolution is 480 x 480, so the center coordinate of the Watchface rotation is (240, 240)
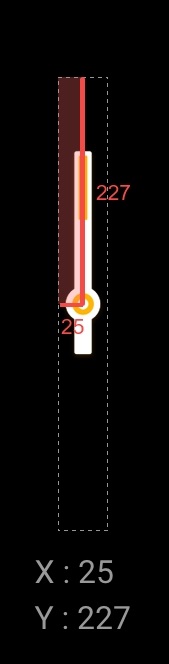
Pointer rotation center - the coordinates of the rotation point on the pointer picture, reference to the figure below
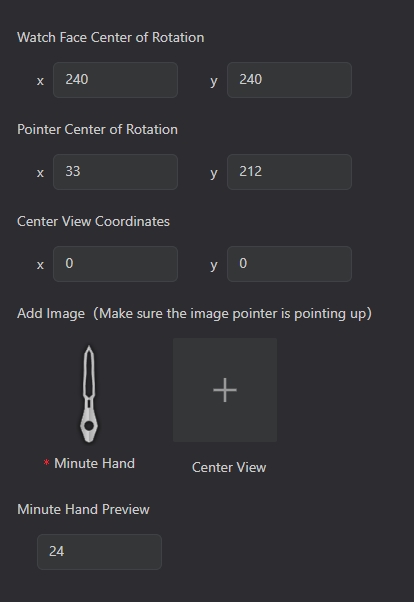
Add "Minute Hand"、"Second Hand"
- Similarly, add the "Minute Hand" and "Second Hand"
- Select "Second Hand", set the "Watchface Center of Rotation" coordinates to (240,240), "Pointer Center of Rotation" coordinates to (33,212)
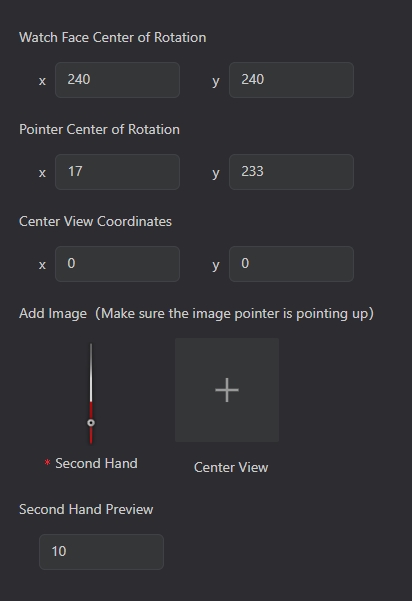
- Select "Second Hand", set the "Watchface Center of Rotation" coordinates to (240,240) and set the "Pointer Center of Rotation" coordinates to (17,233)
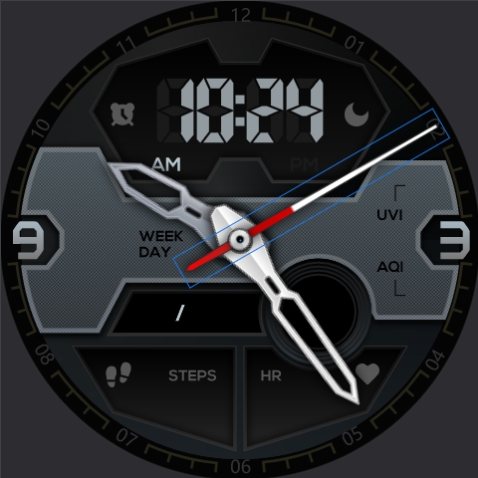
- After adding these, you can select any pointer to preview it
Note
None